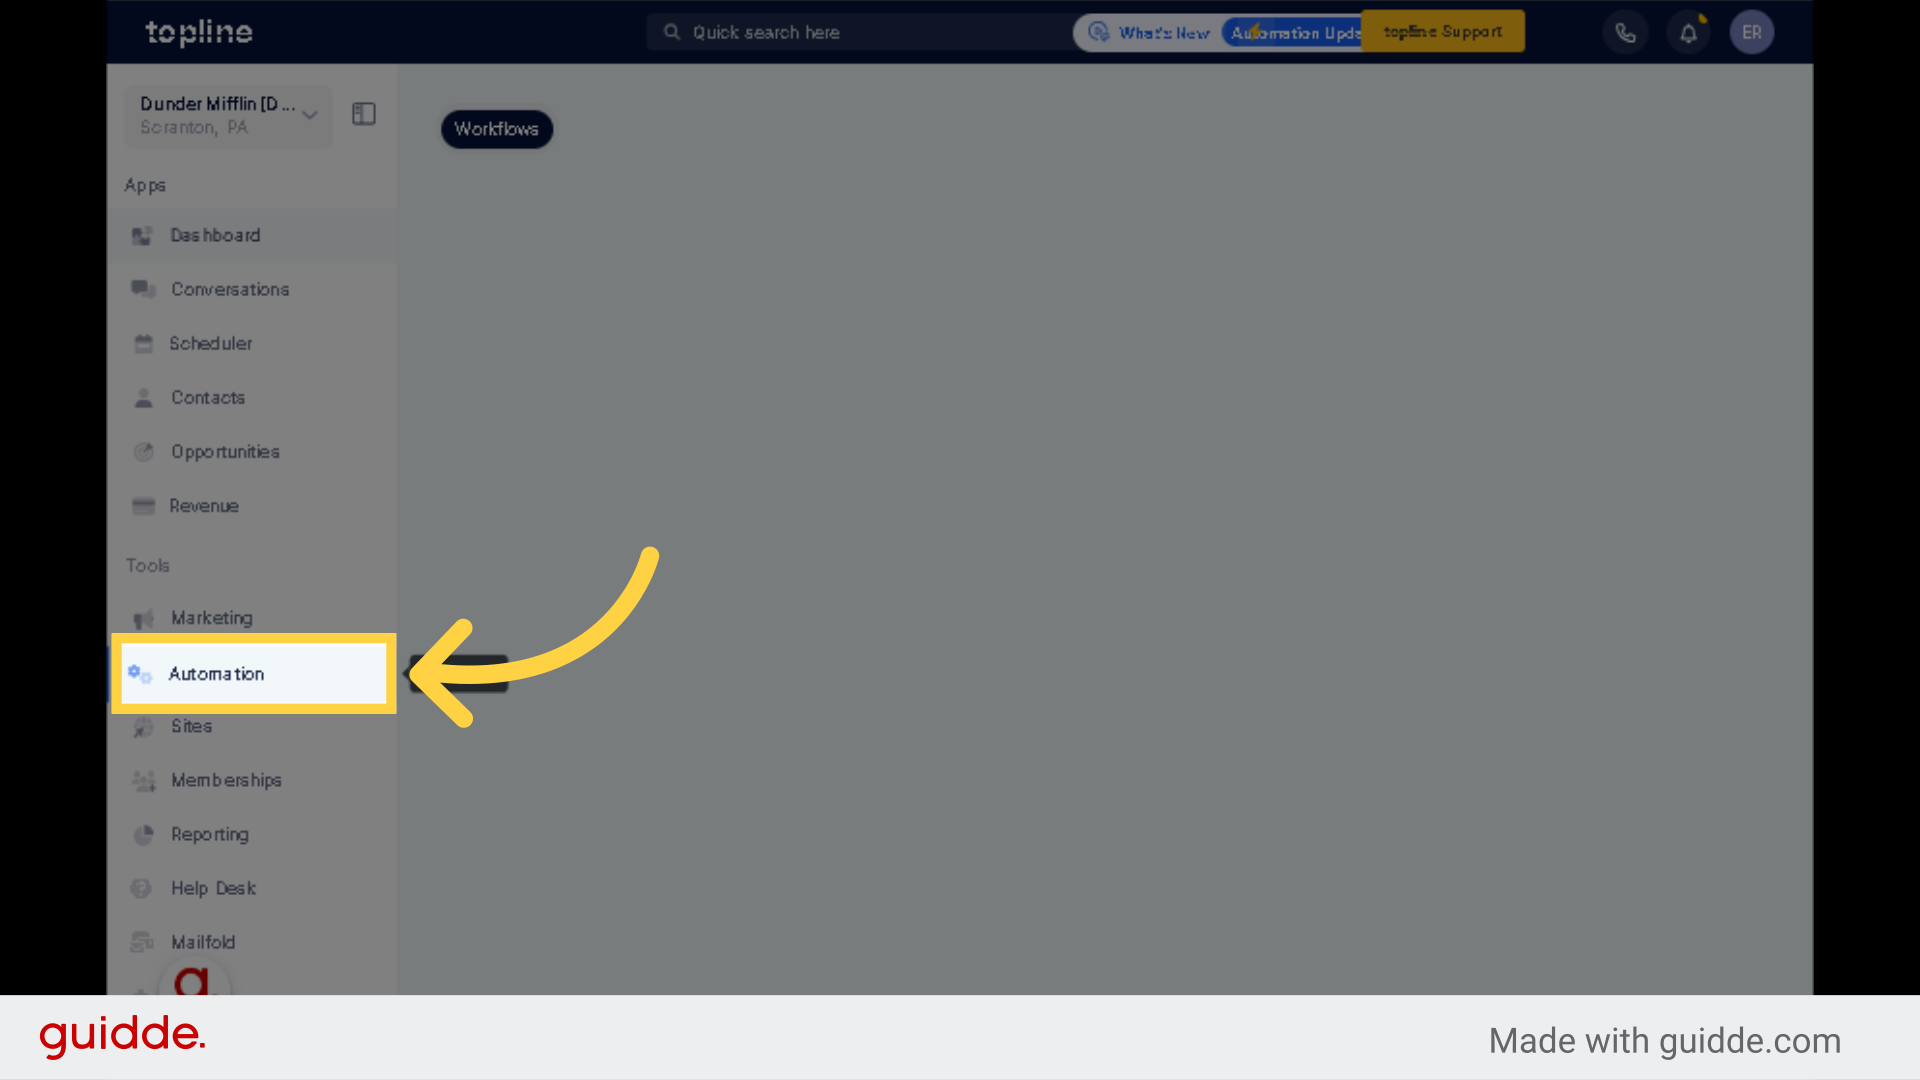
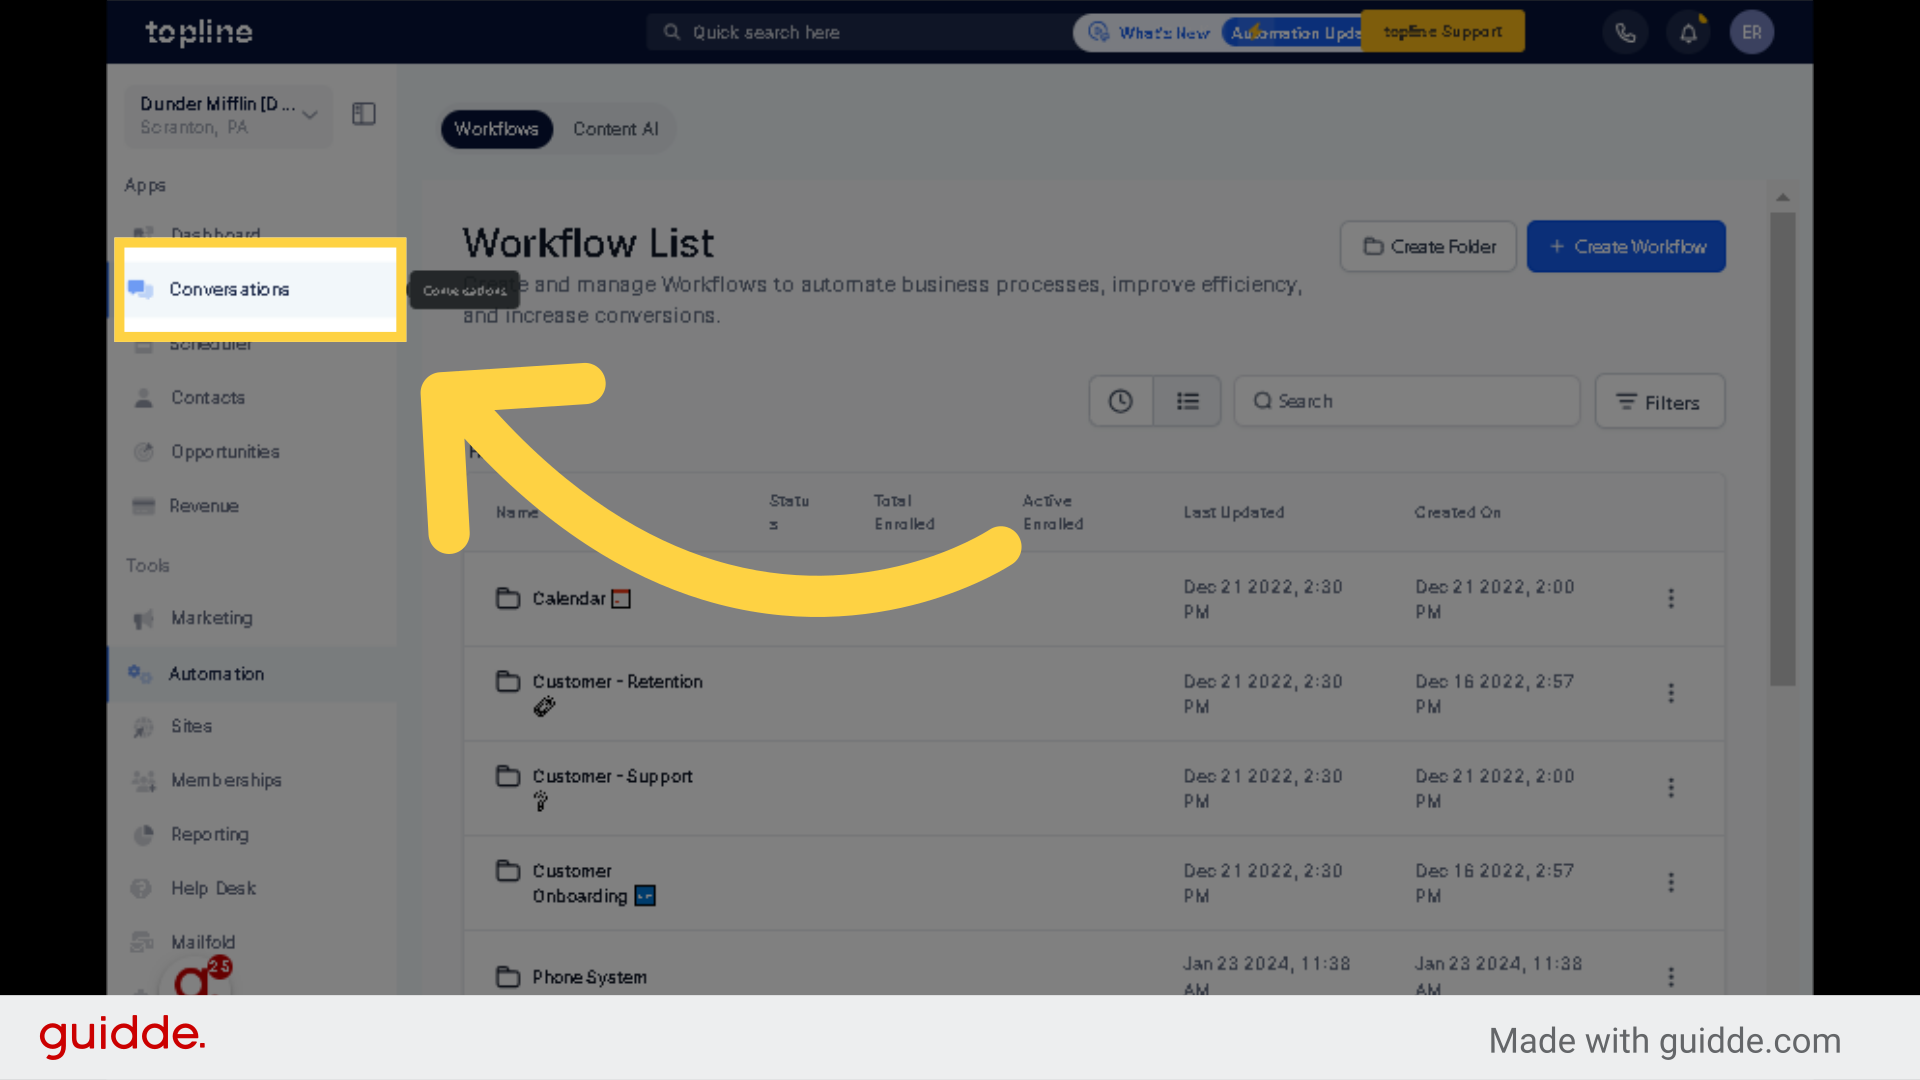
Access to the automation feature on the left side menu.
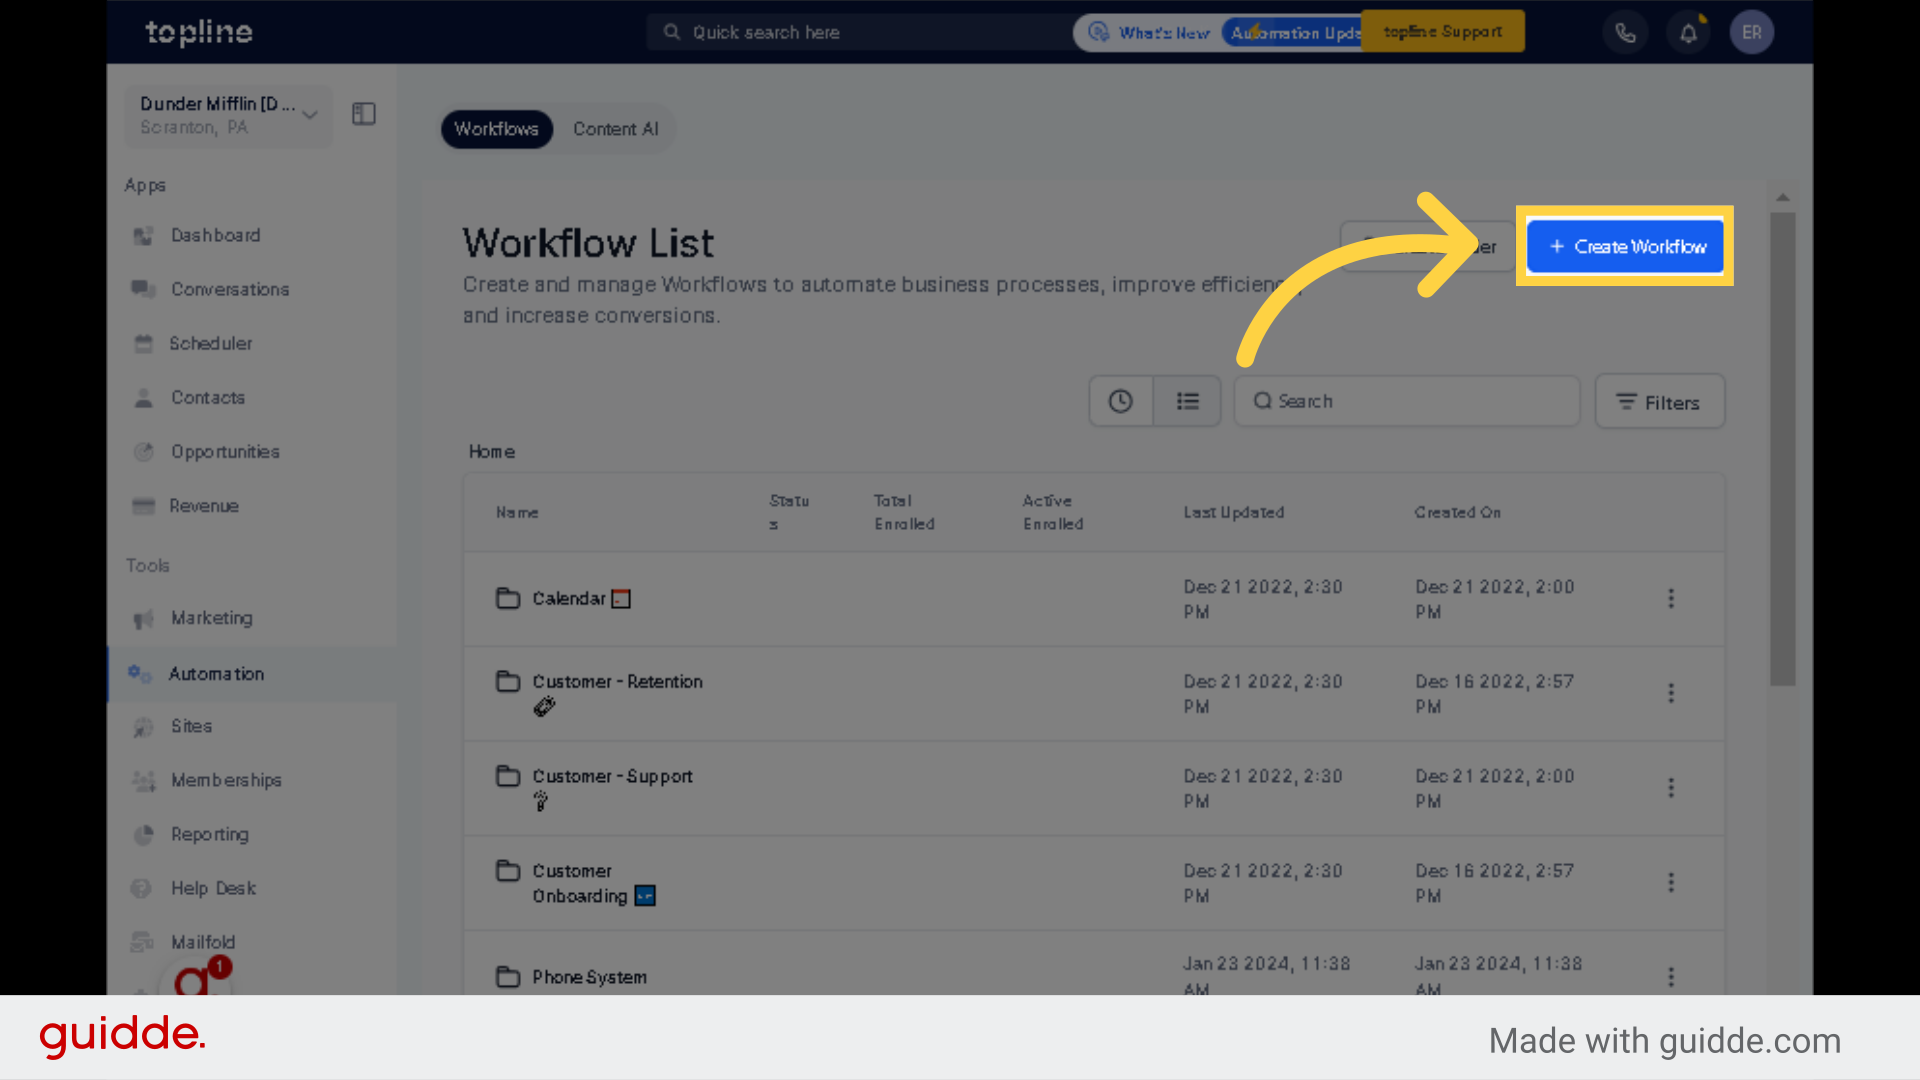
Select + Create Workflow. A Workflow allows users to manually trigger a specific step or task within the workflow. This can be beneficial in situations where human intervention or decision-making is required, ensuring that the workflow progresses smoothly and accurately.
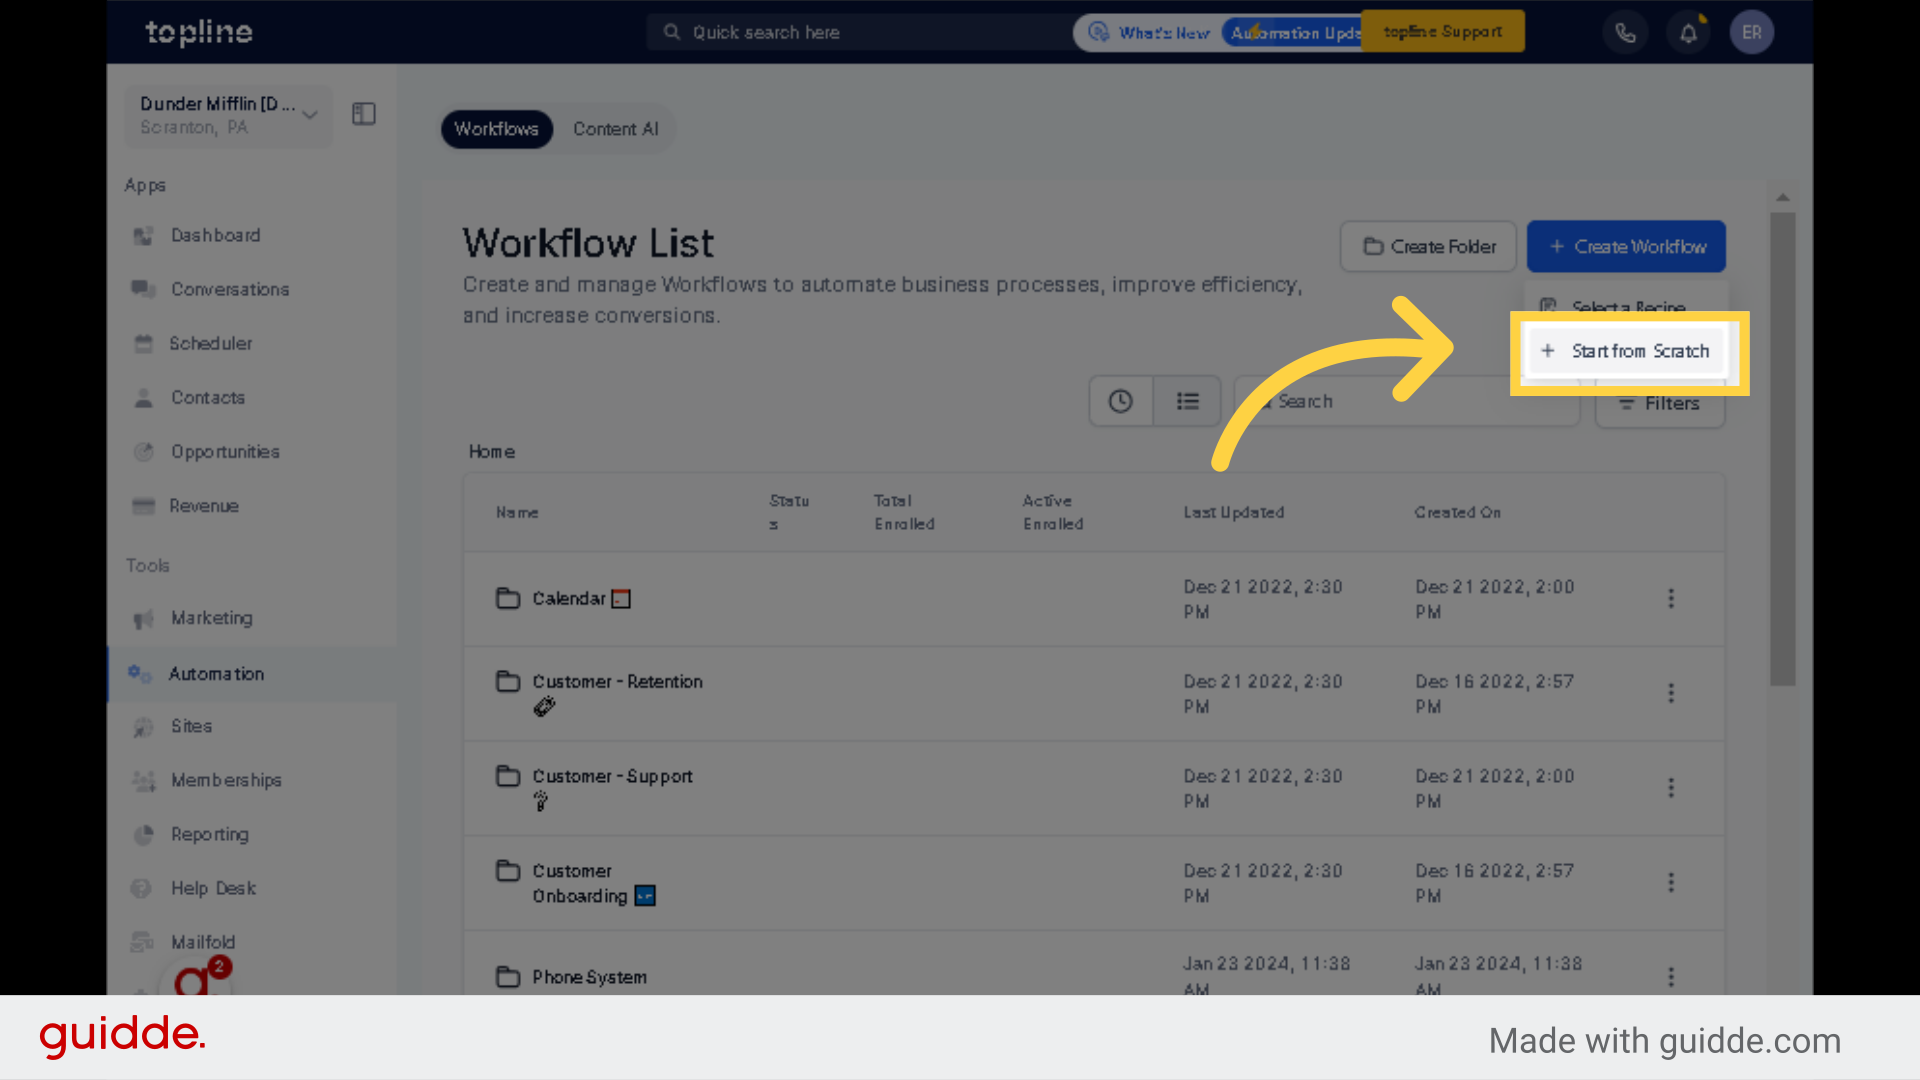
Choose the + Start from Scratch option from the dropdown menu.
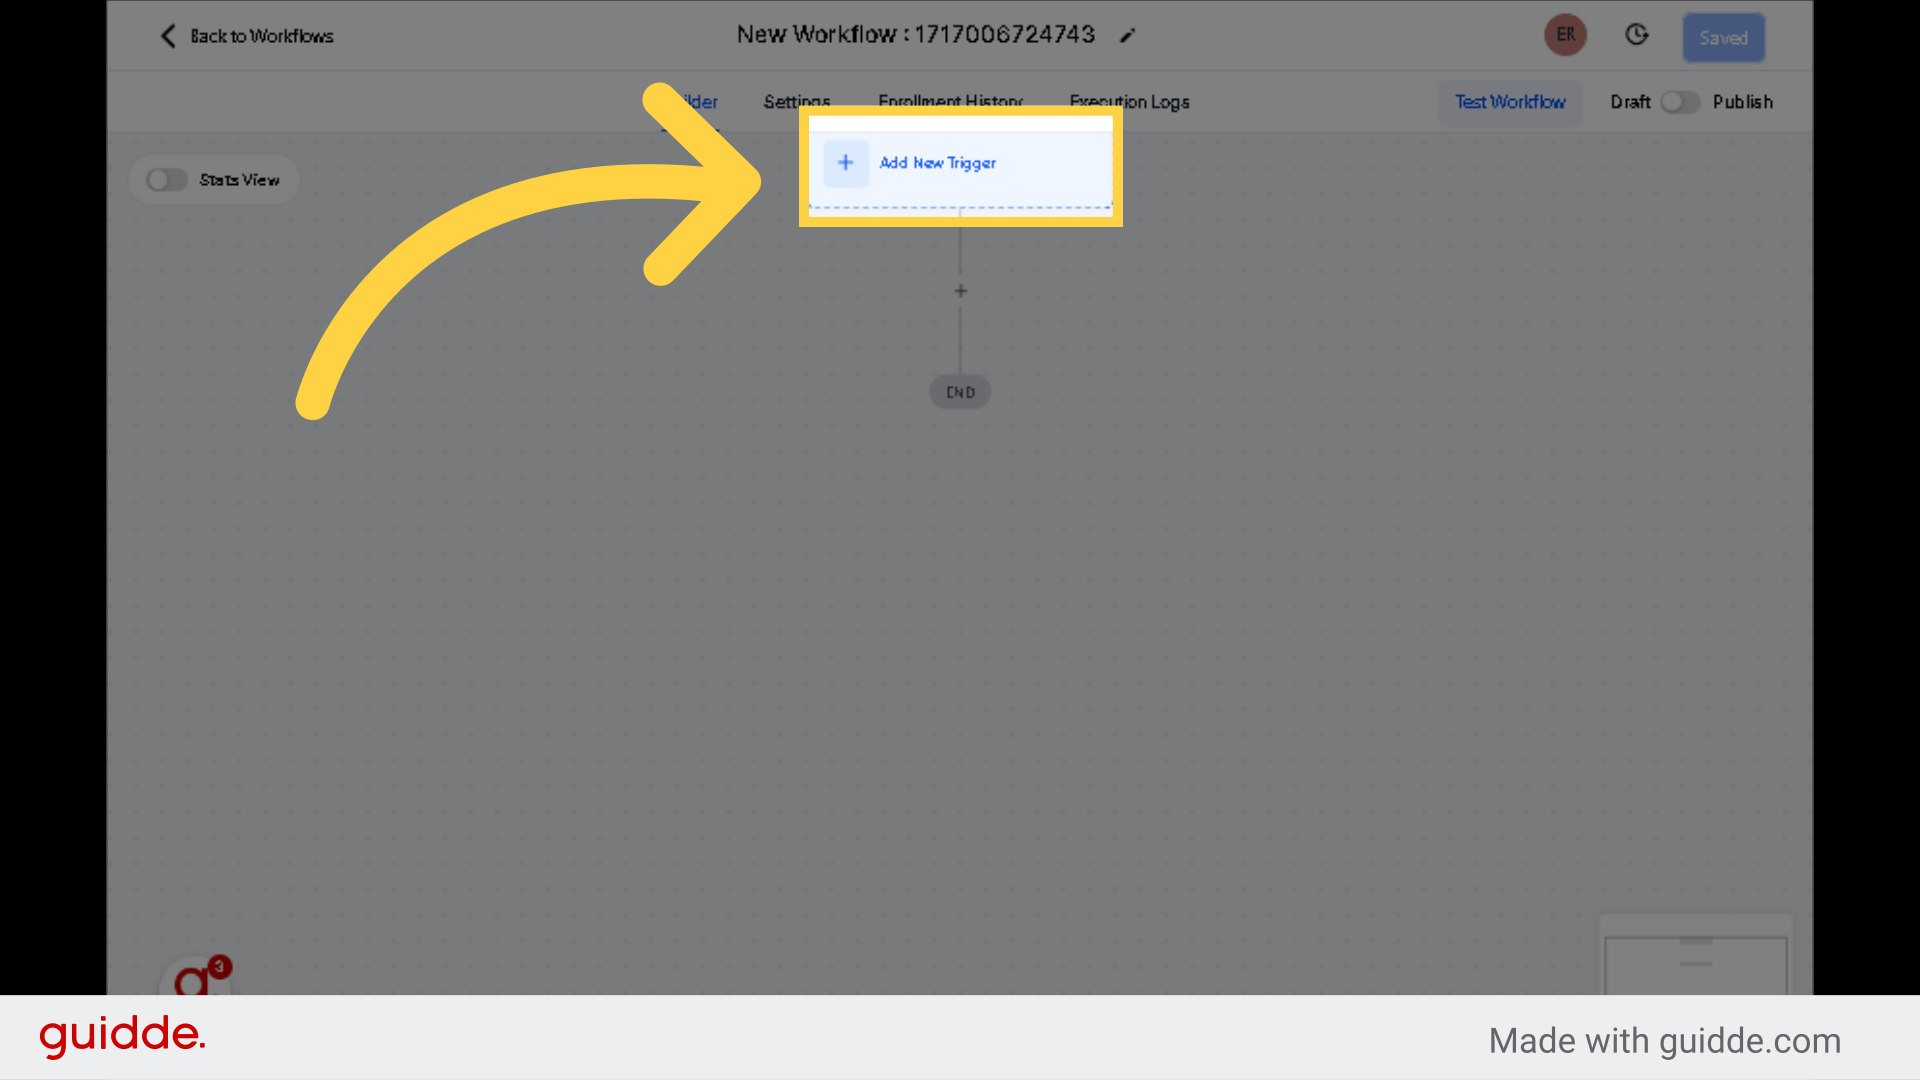
Select this option to add a new trigger to the workflow.
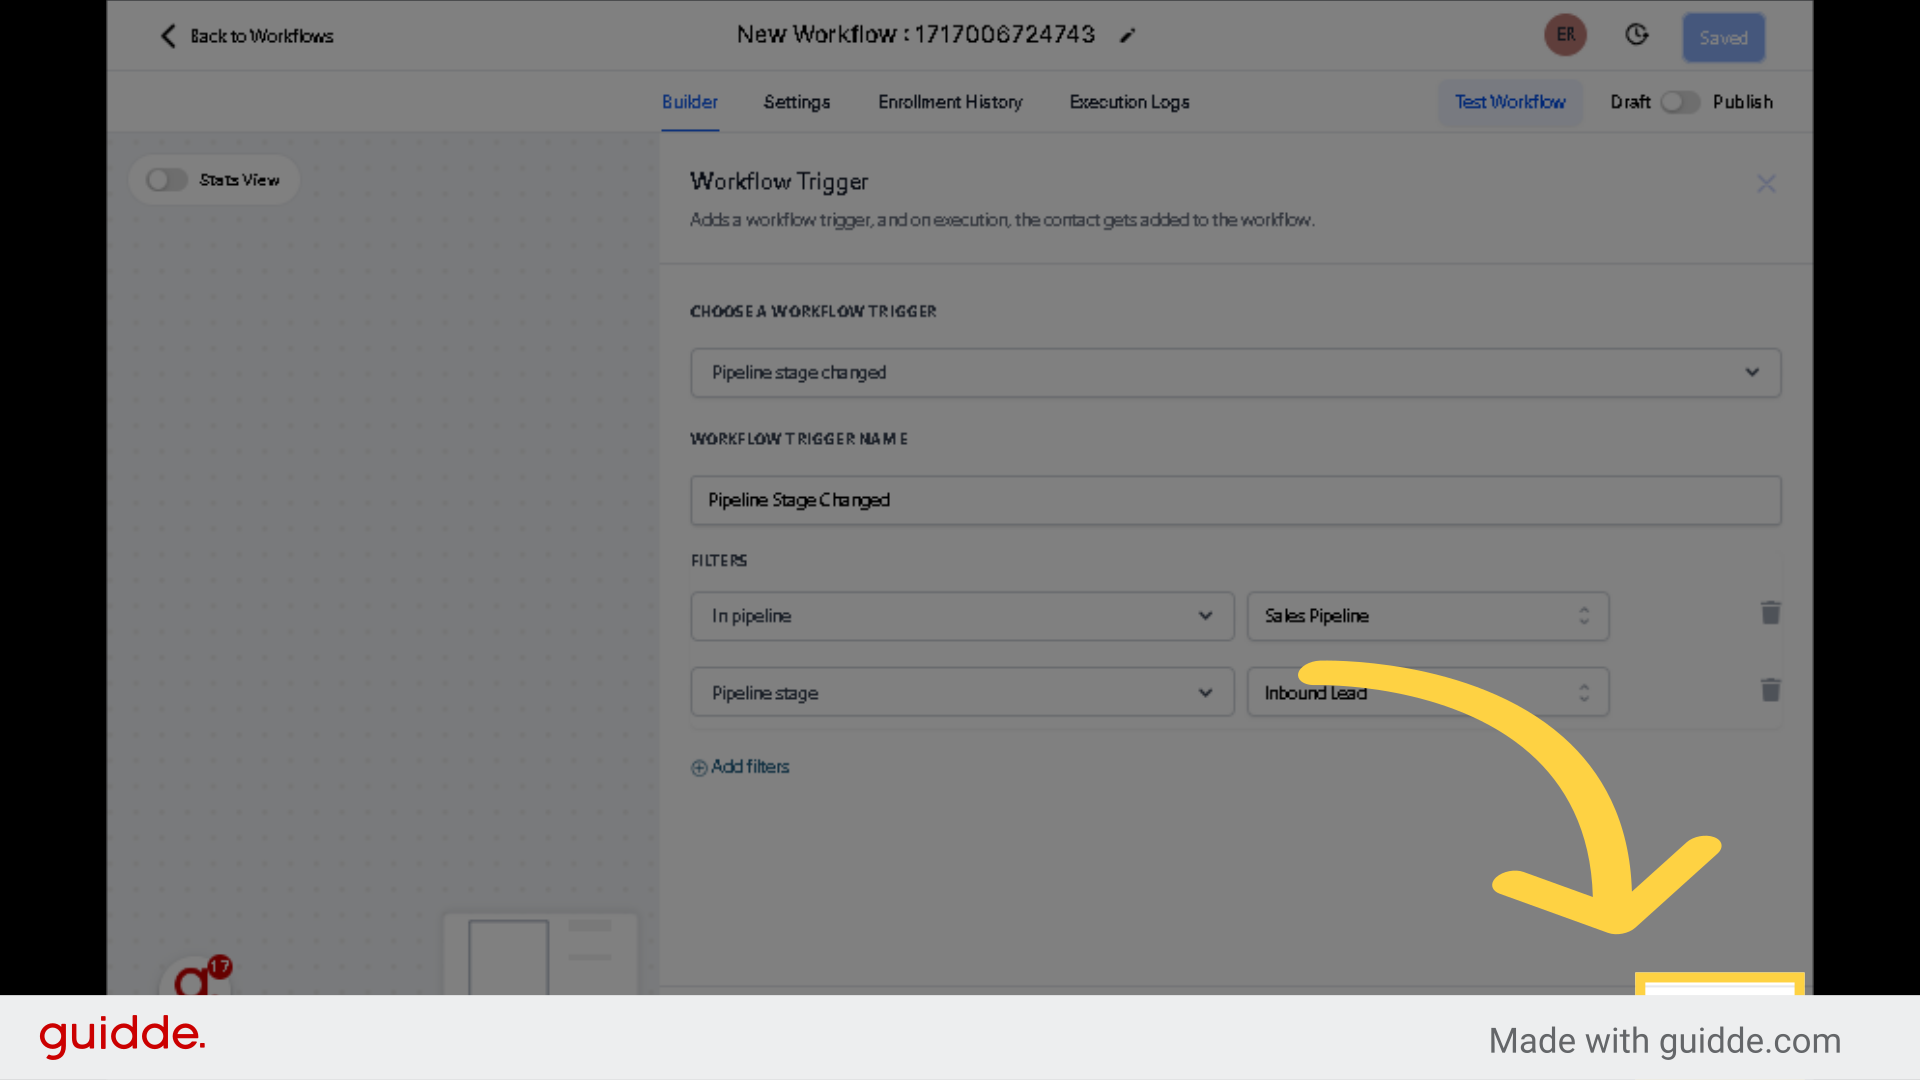
Look for the Pipeline Stage Changed Trigger.
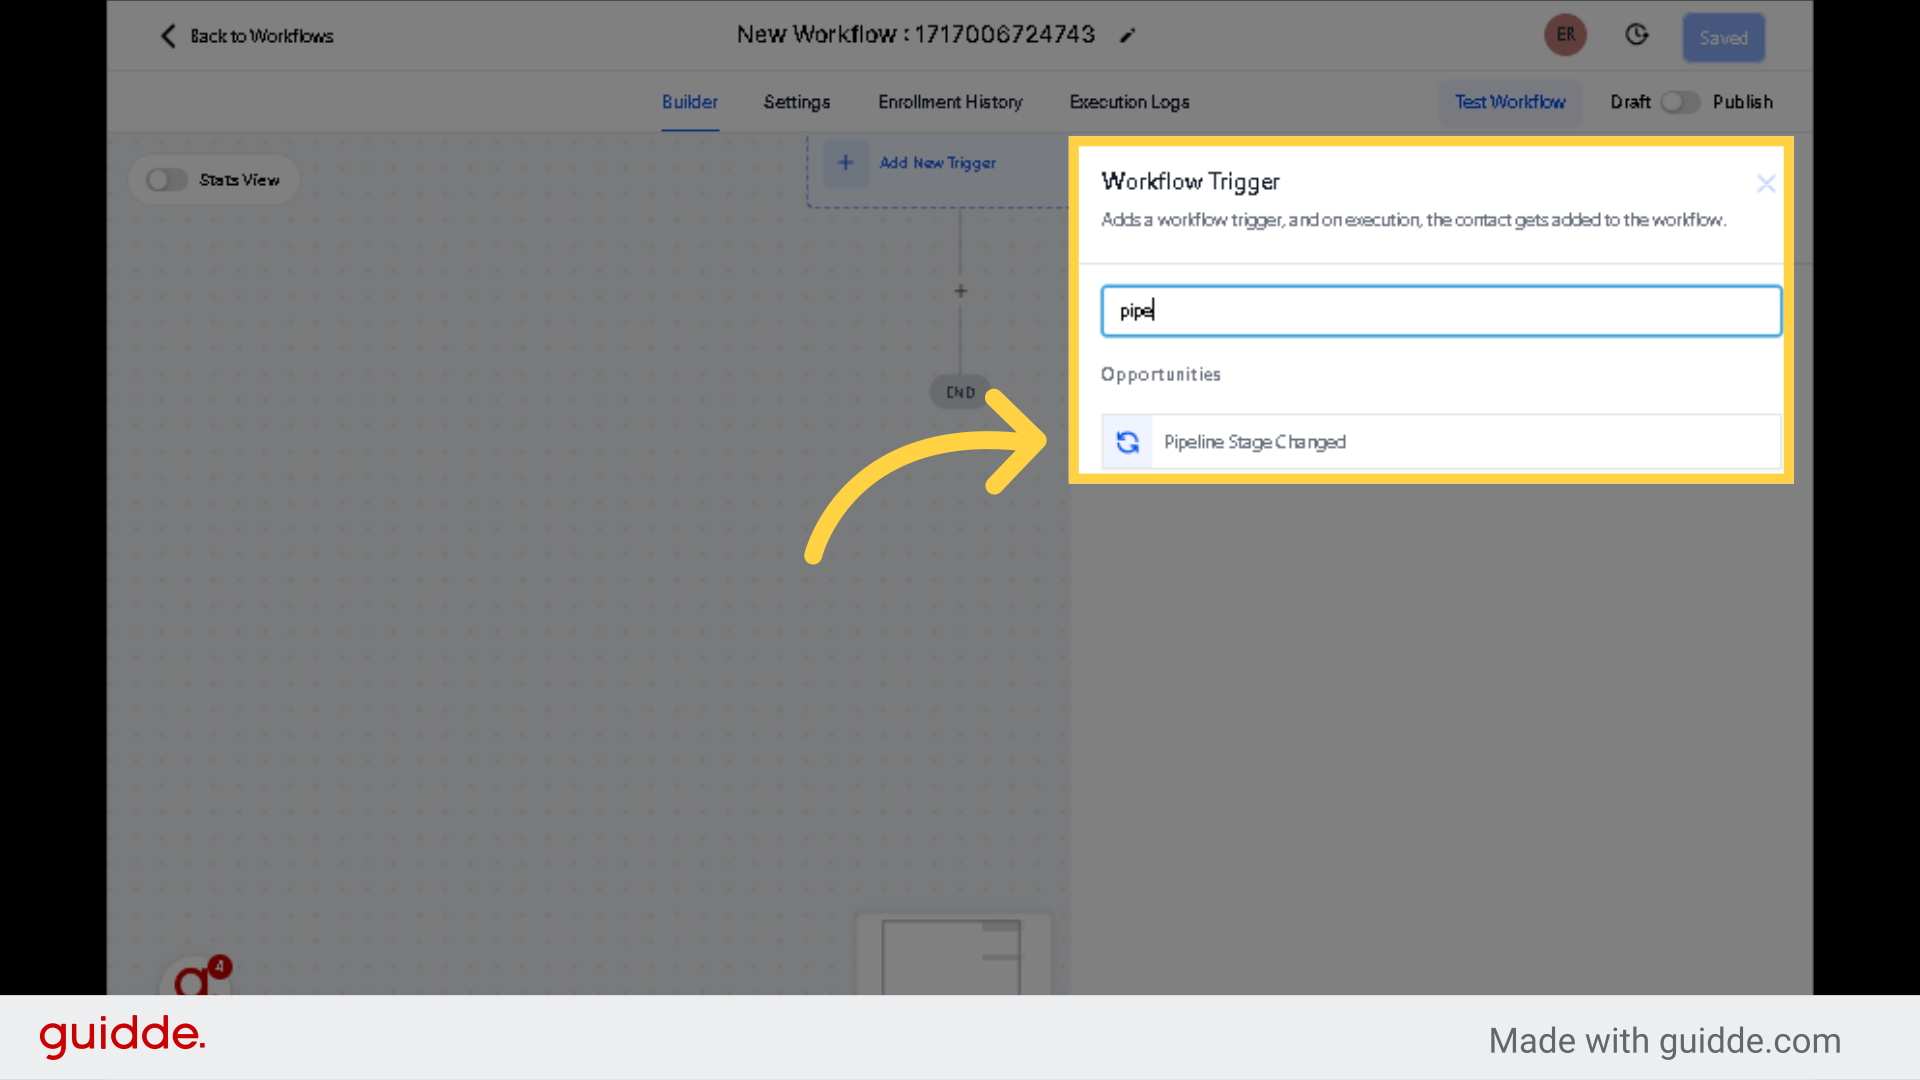
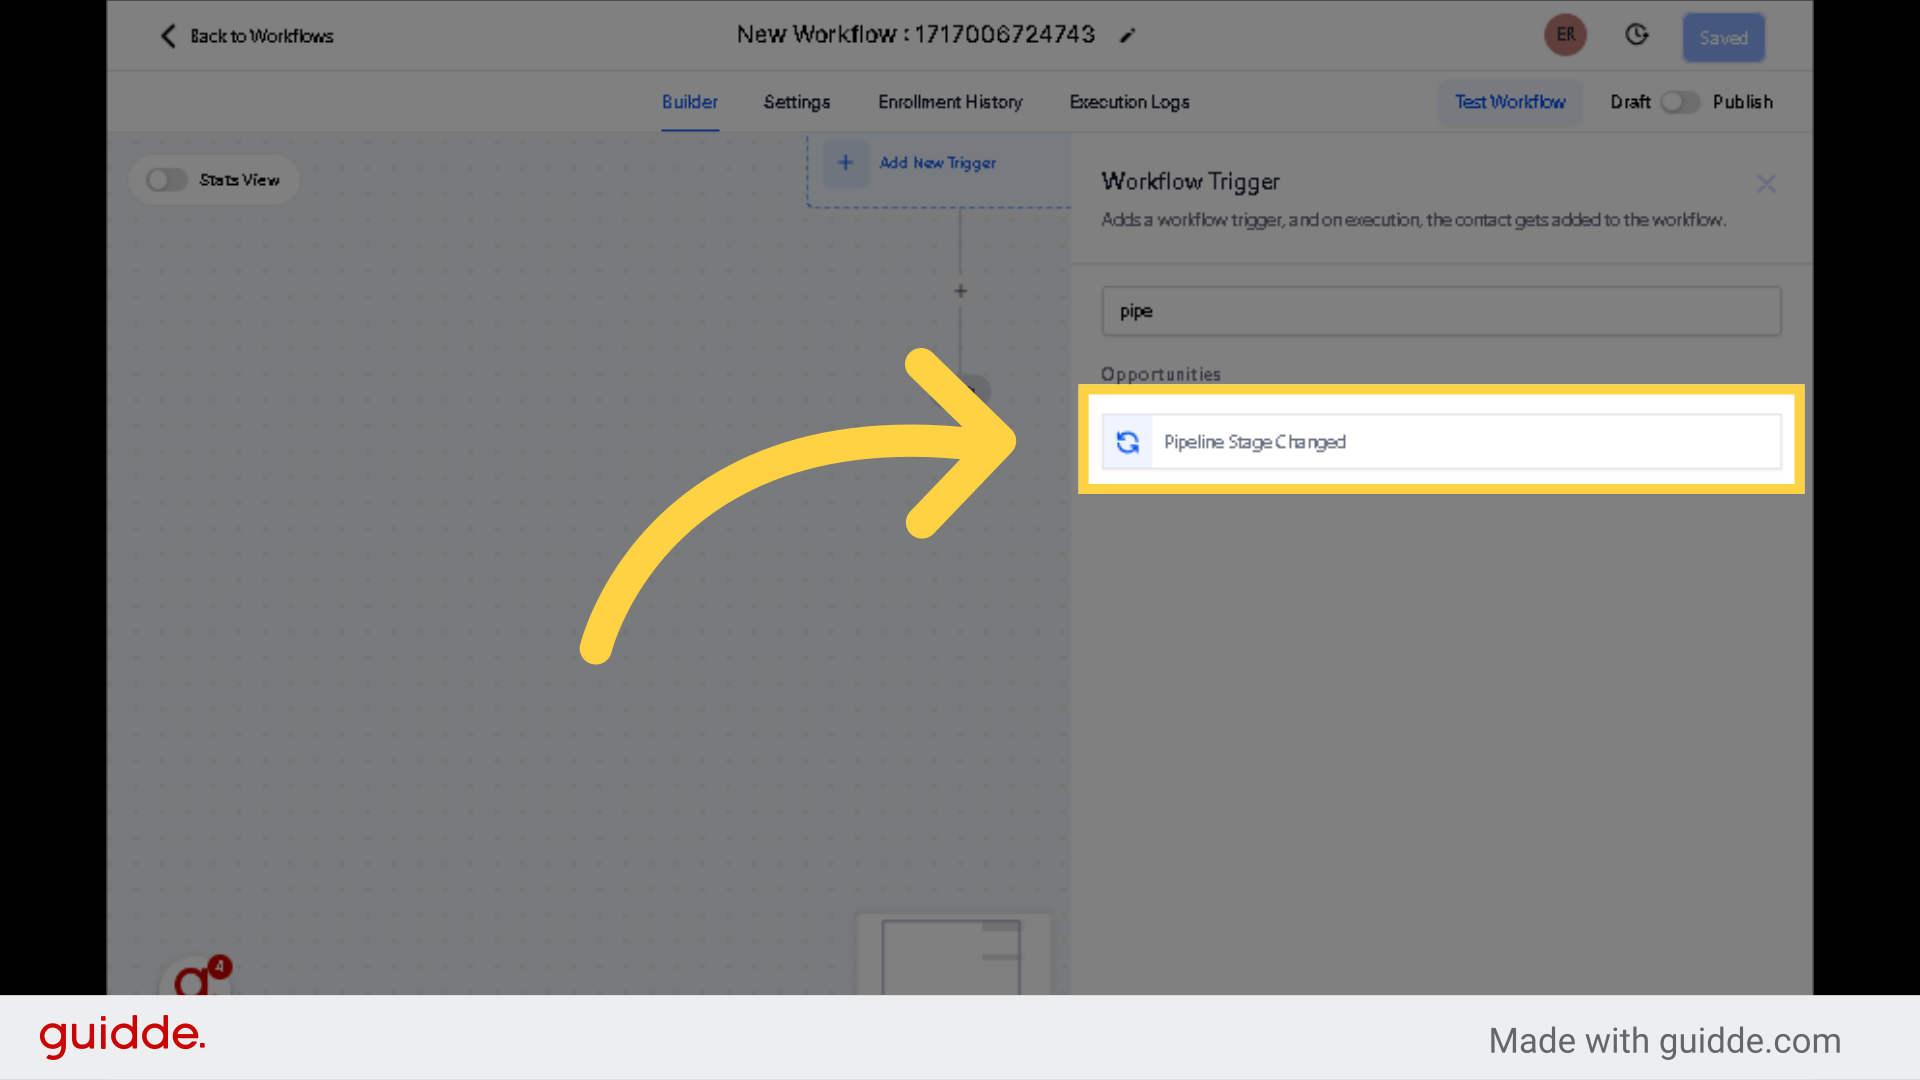
Select the pipeline stage changed option to continue with the process.
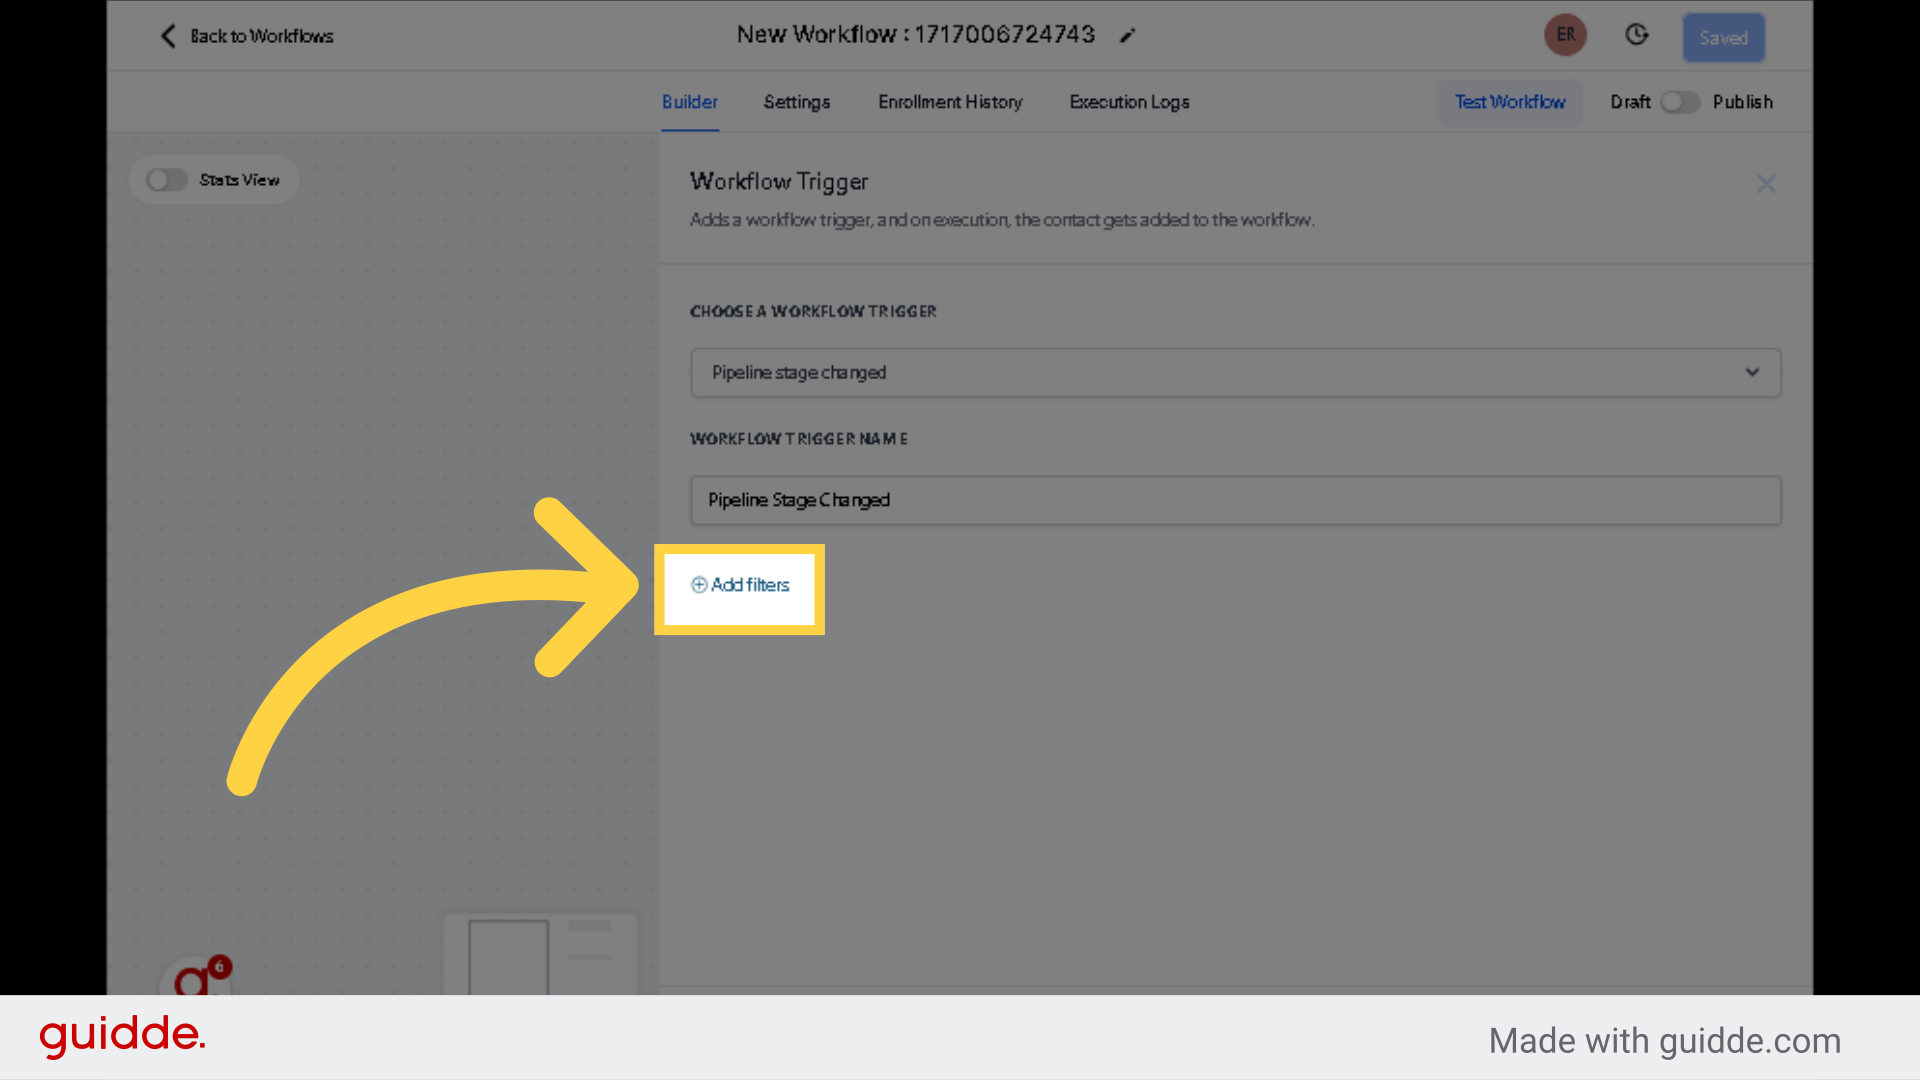
Click Add Filter, this will include additional filters for the trigger.
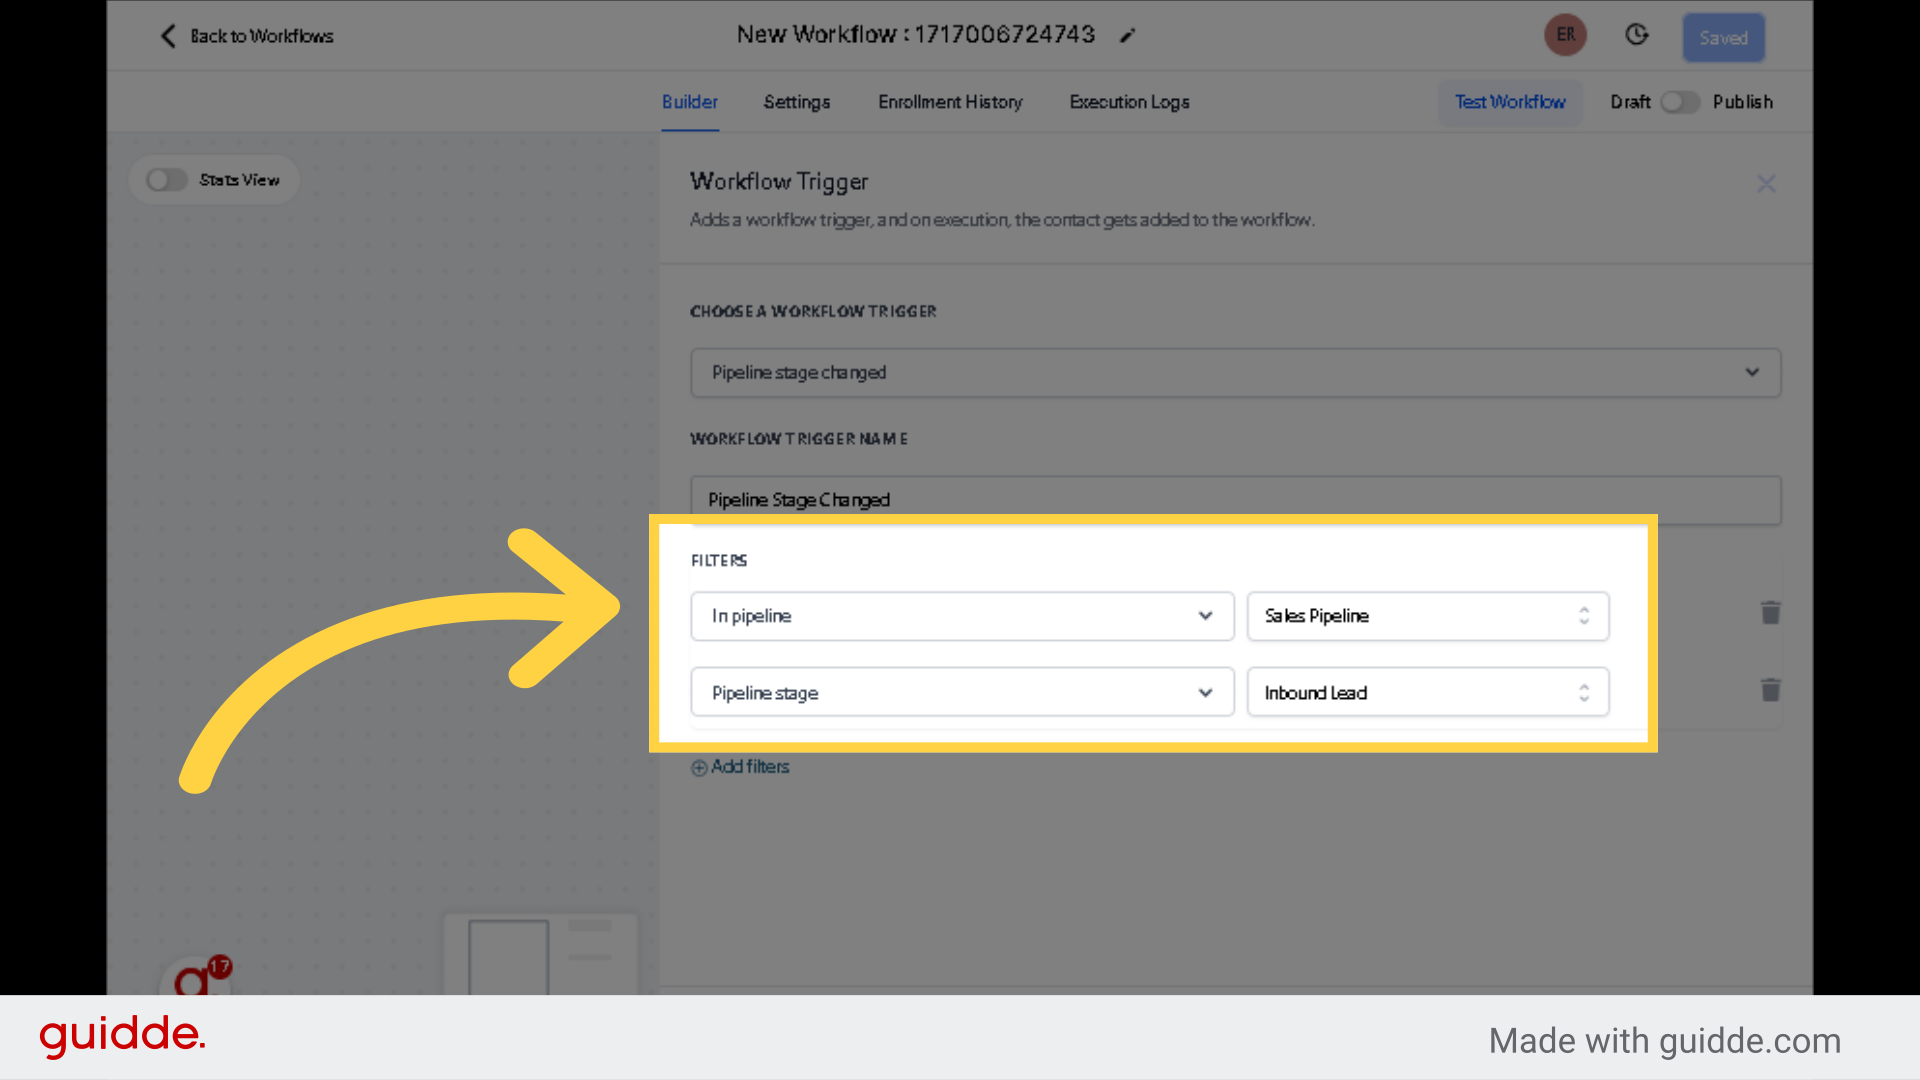
Go to filters, select and add the following details. Add "In Pipeline" and "Sales Pipeline". Once done, click add filter again and Select "Pipeline Stage" and "Inbound Lead"
Select this option to save the configured trigger.
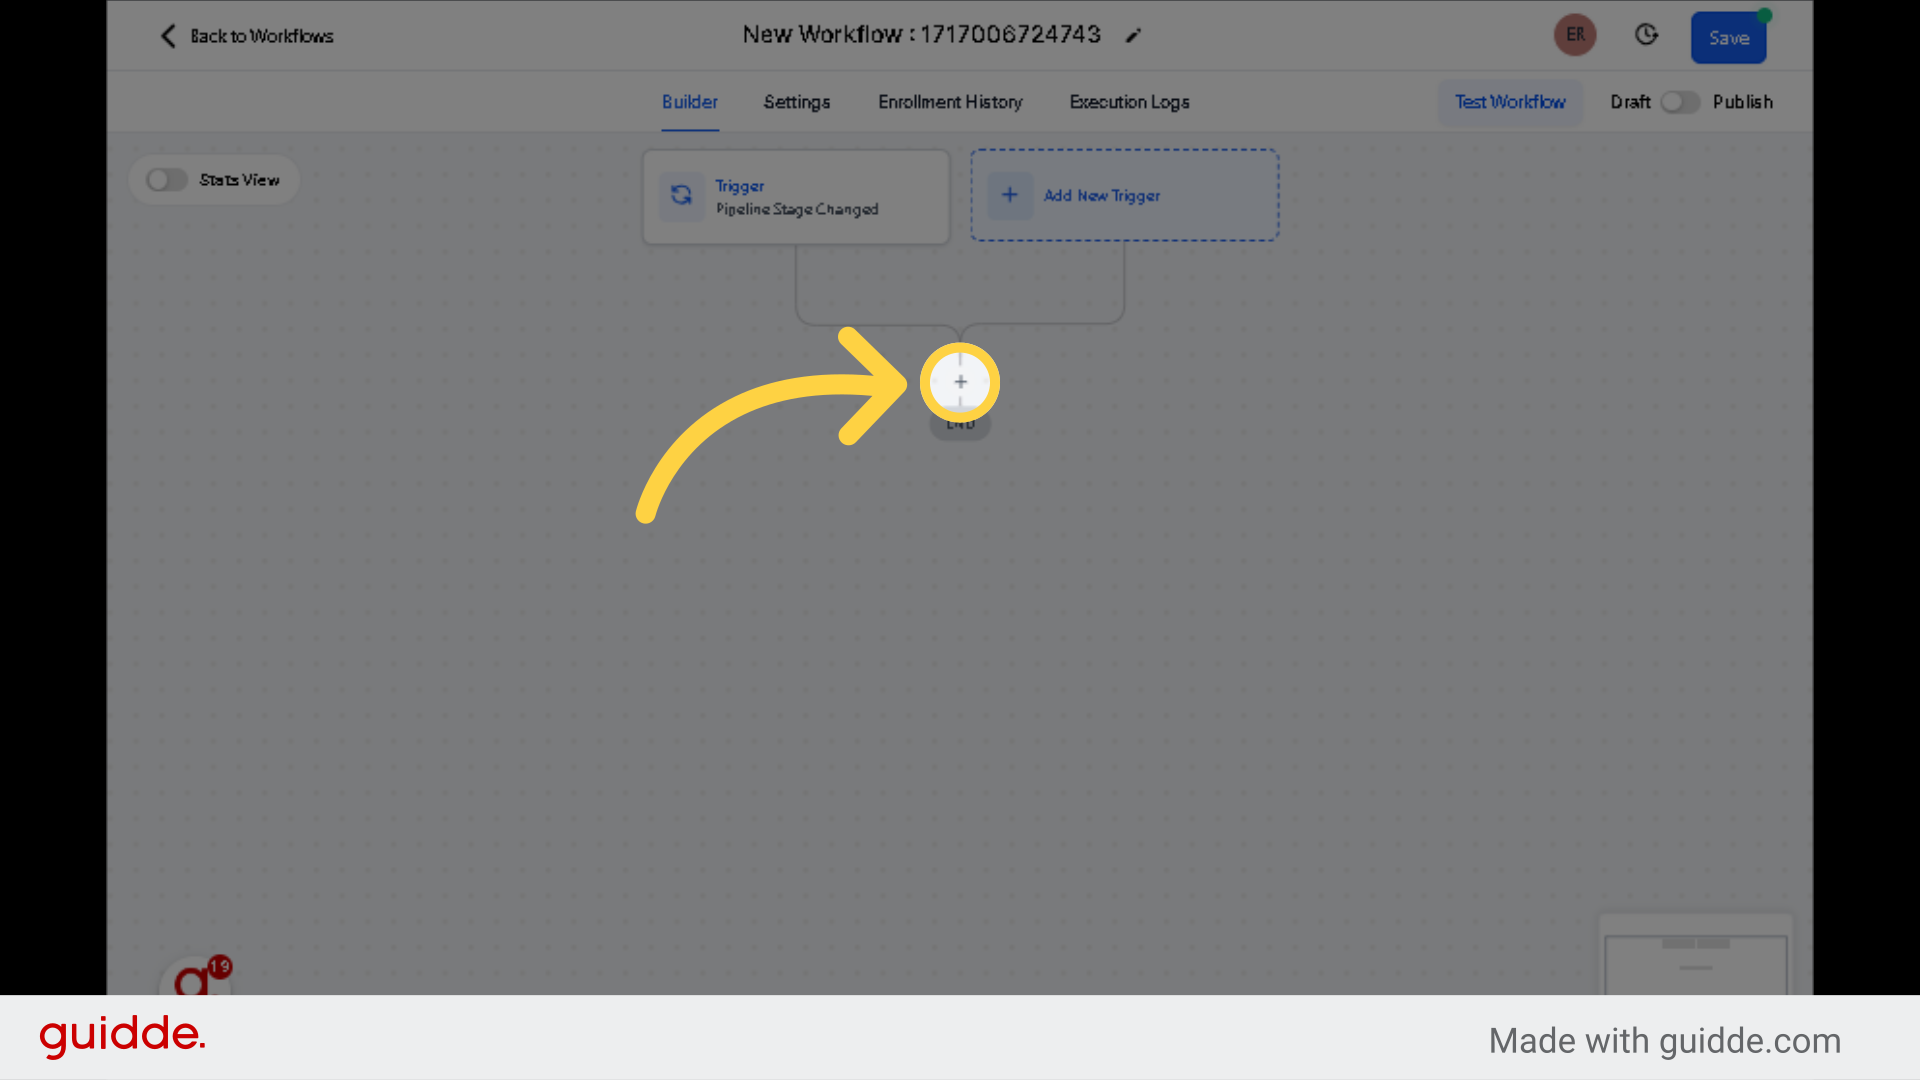
Click on the plus action to add an action.
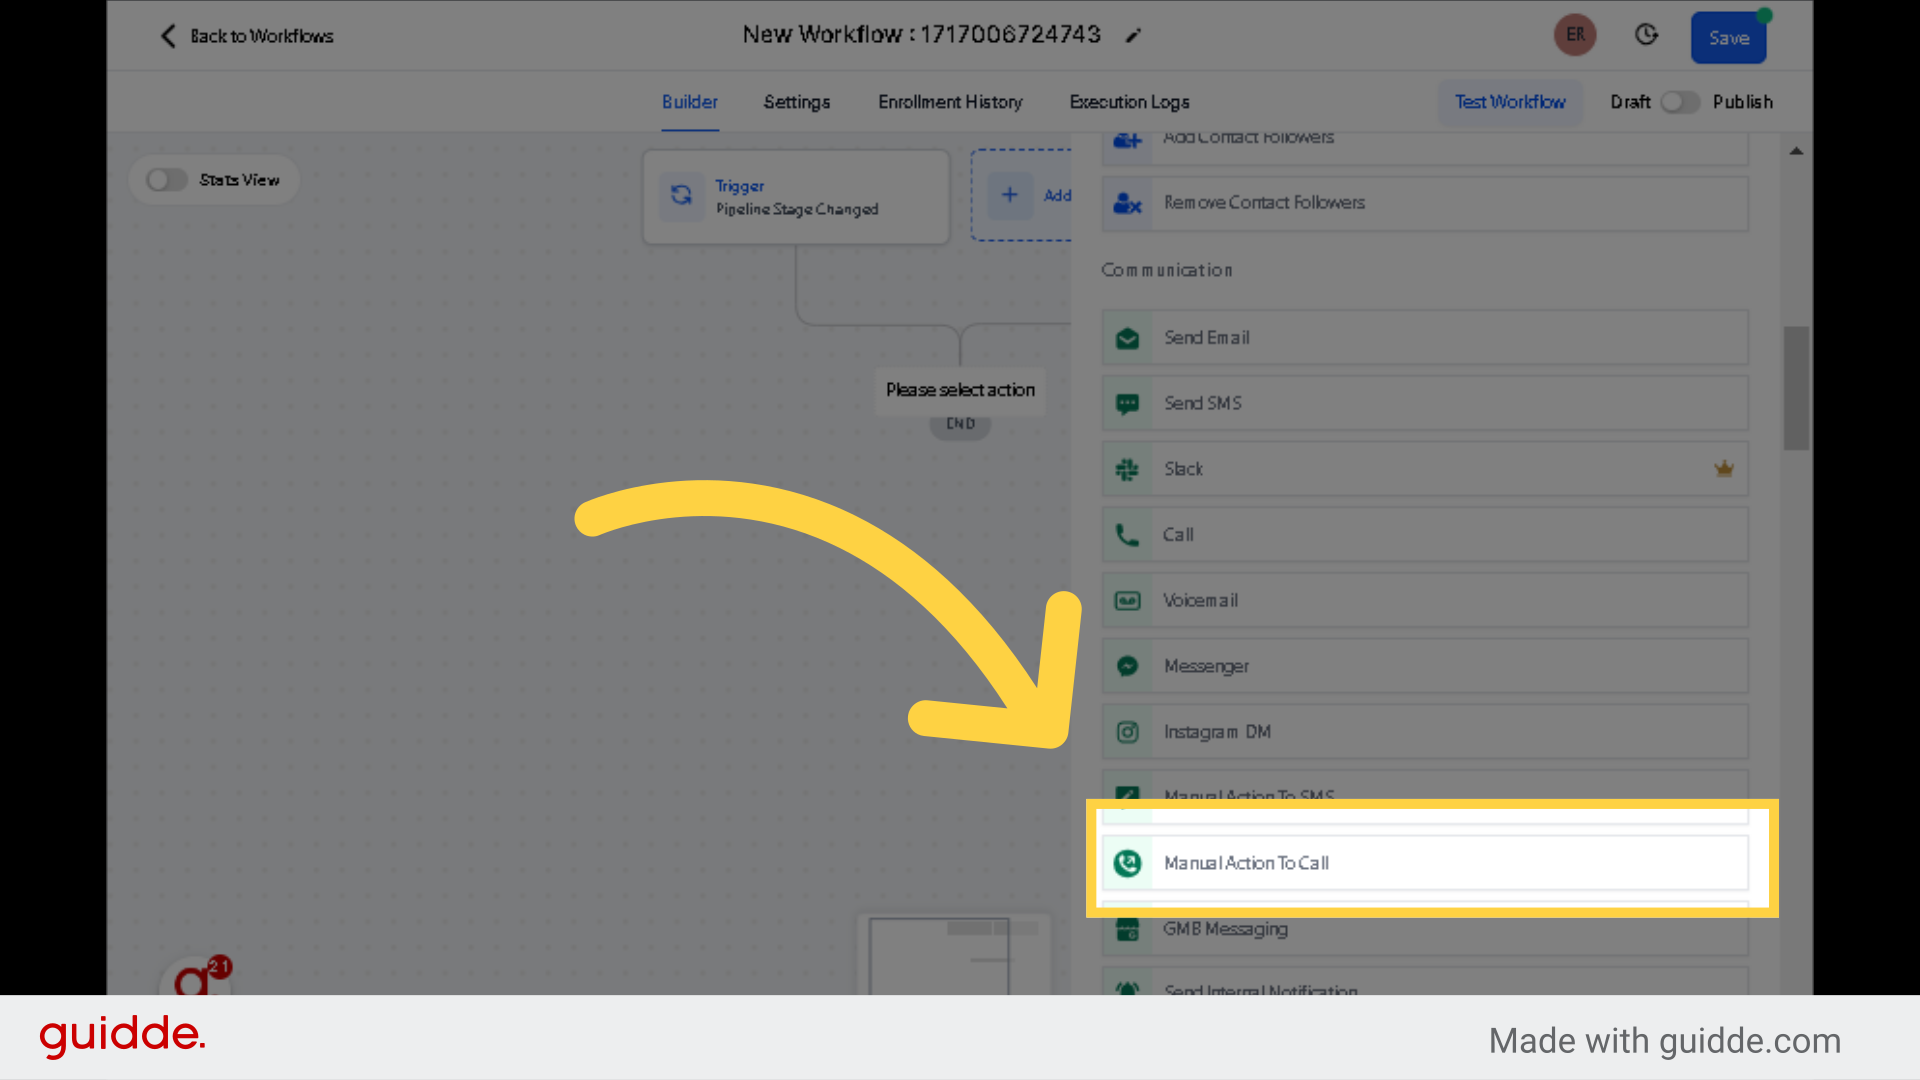
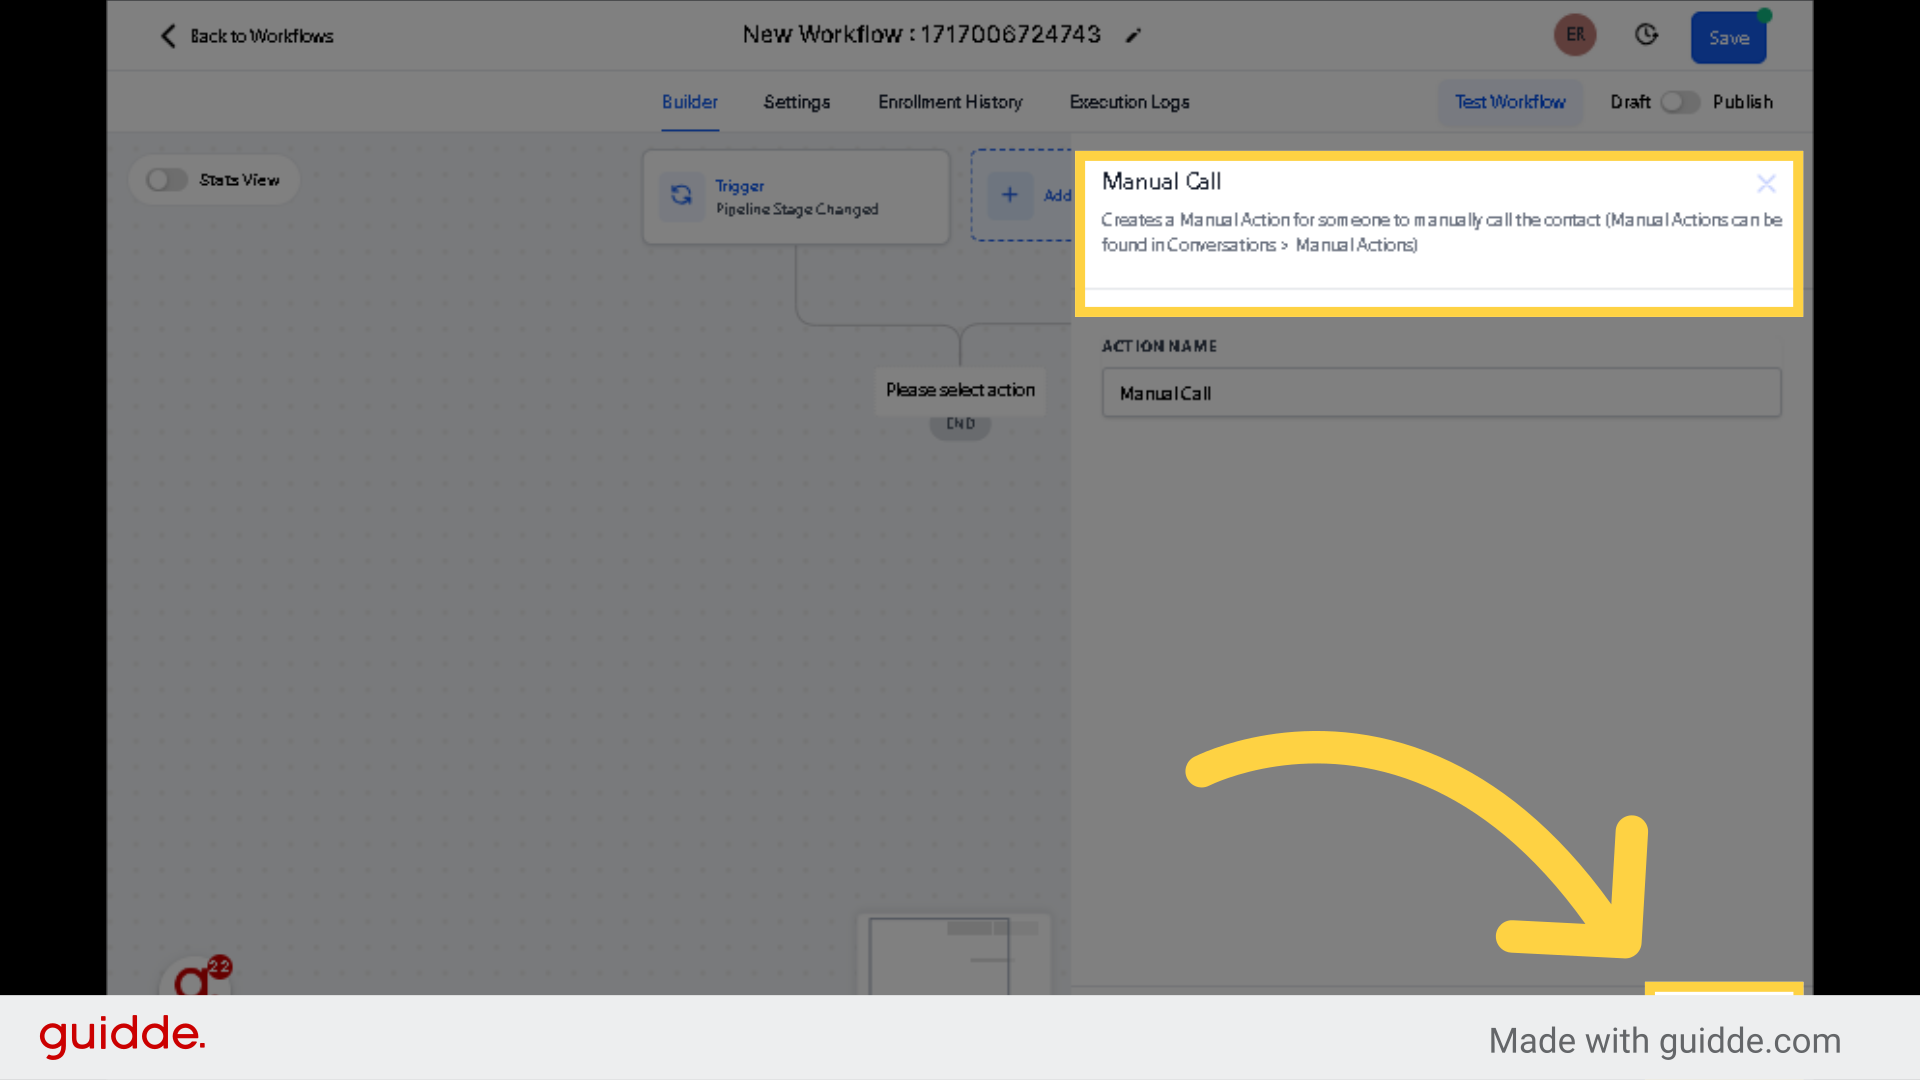
Look for the "Manual Action To Call" and select it.
Save the configured action by clicking on Save Action.
Click on the Save button located on the upper right side of the view.

Access to the Conversations section on the left side menu.
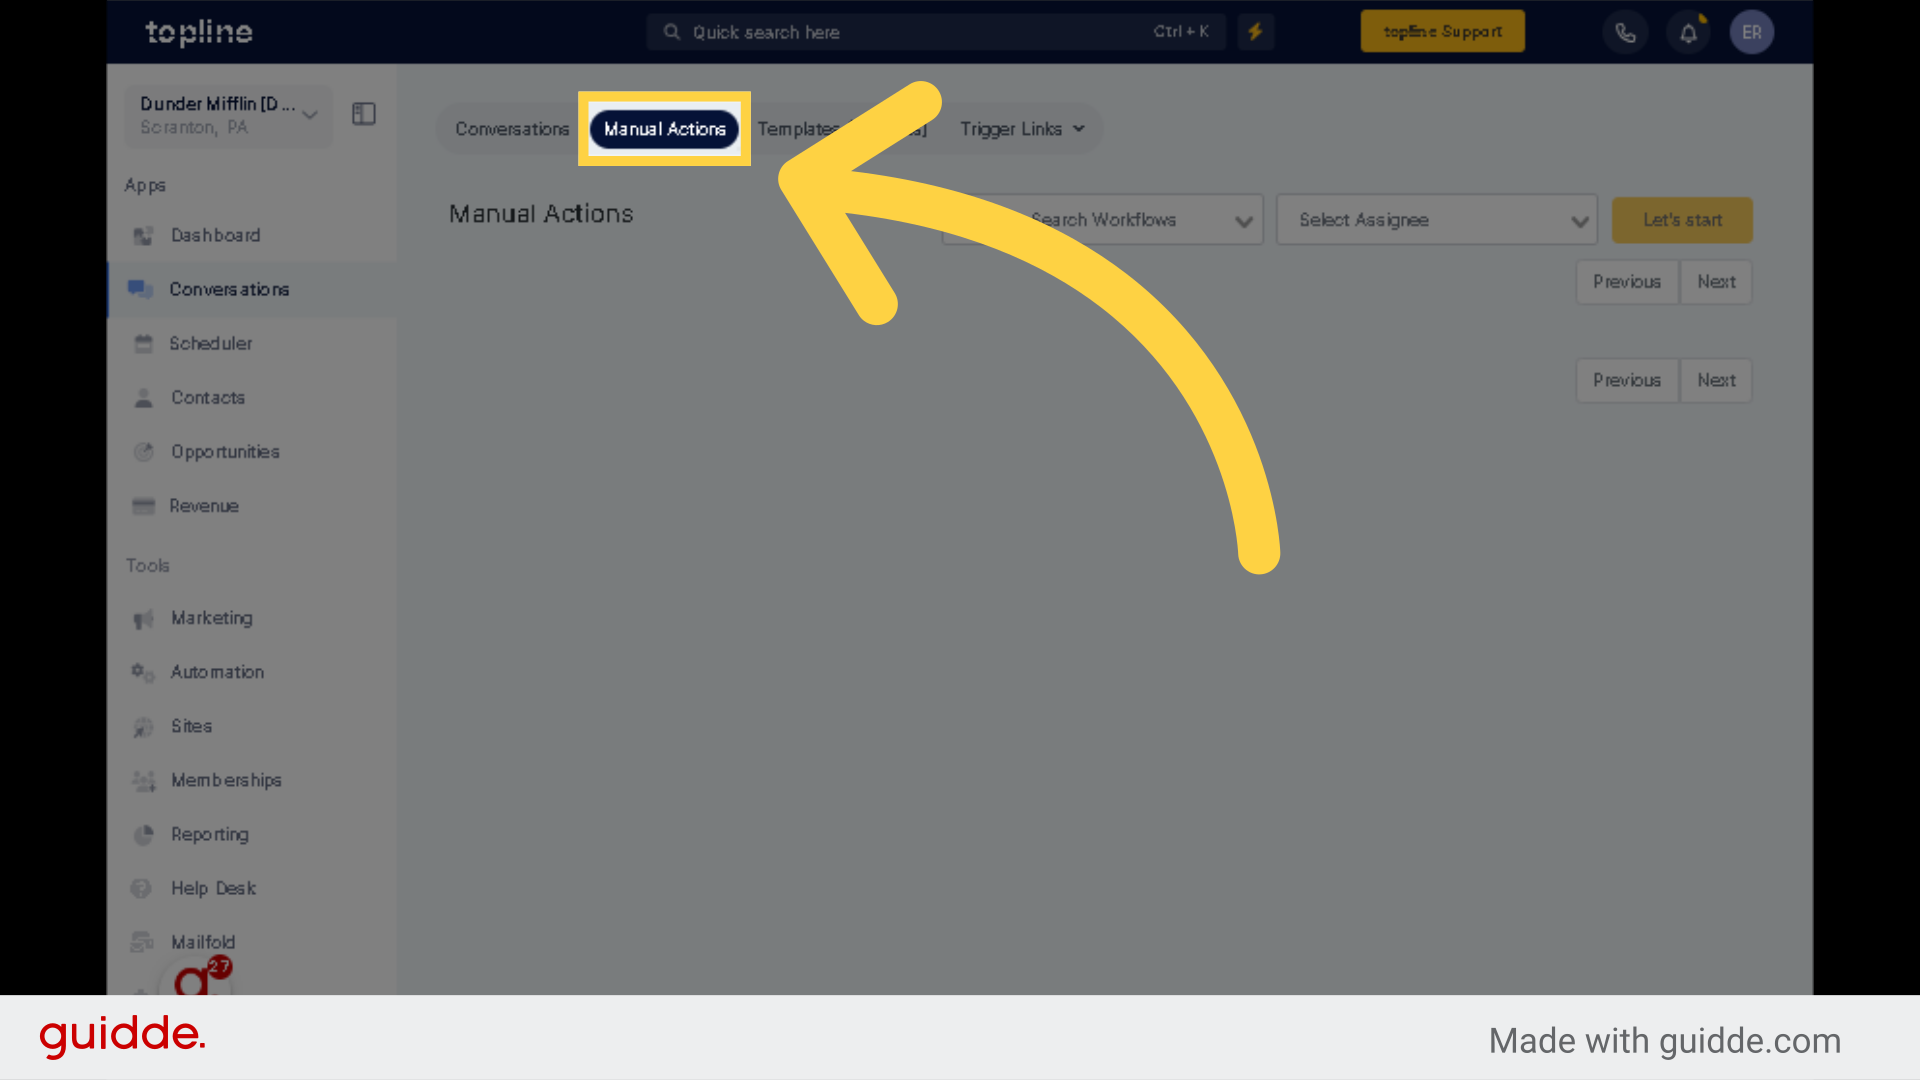
Select the Manual Actions tab on the upper side menu.
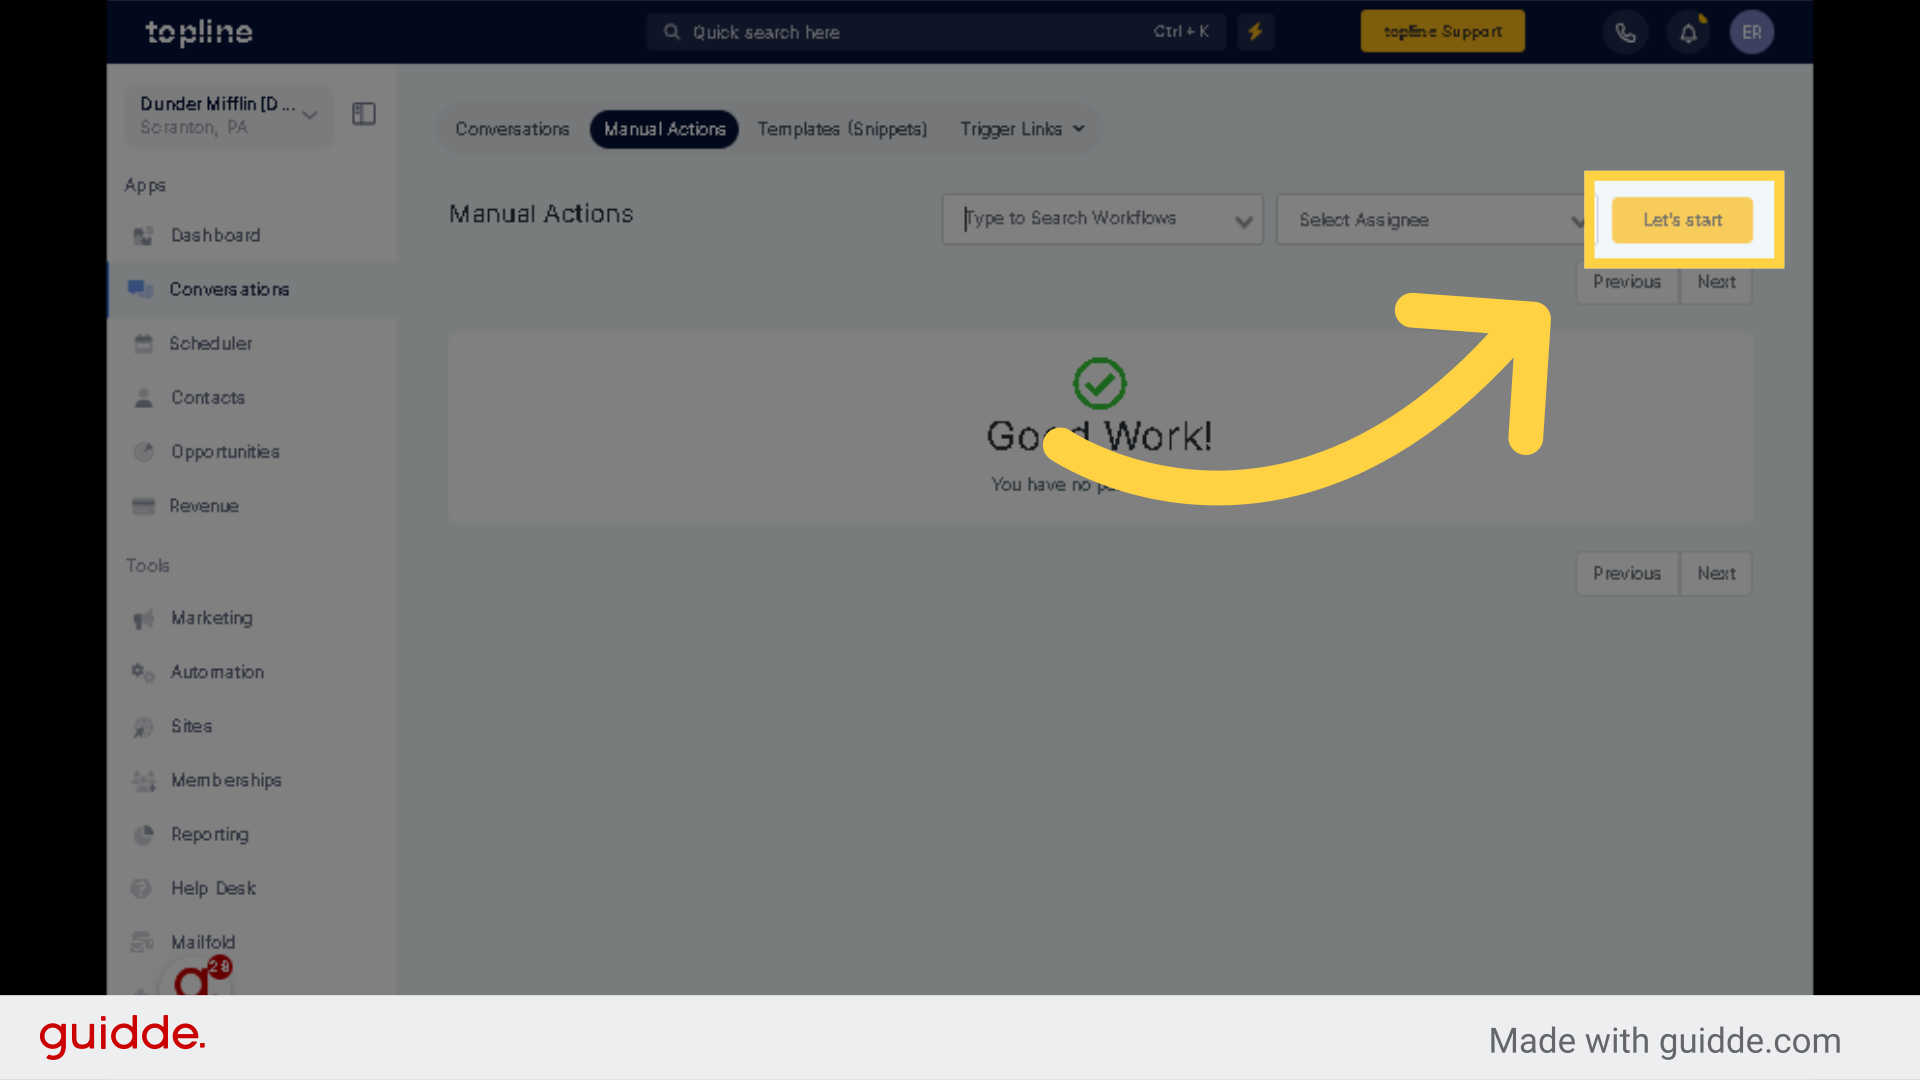
So now that your user sees as manual action that comes in here. You can also use the filter to see the assigned data for the respective user.
Please Note:
- If you delete the lead from the workflow or the system they will be removed from the manual call action queue.

- If you would like to hide the call queue from each user please use only assigned data (mentioned @1:16 secs in the video above)